Order when lowering the cylinder head
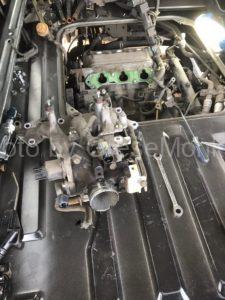
I am going to lower the cylinder head to replace the cylinder head gasket, which is the cause of overheating, but the order in my case is as follows.
- Disassembly of exhaust system (exhaust manifold)
- Disassembly of intake system · electrical system (inlet manifold)
- Tappet cover removal
- Disassembly of timing belt and water pump
- Lower the cylinder head
Disassembly of intake system · electrical system (inlet manifold)
I would like to remove only the inlet manifold, because the cylinder head is unloaded, but this time it was badly blow-by gas blown back to the throttle body in front of the inlet was terrible and dirty was bad and I inspected / cleaned the inlet manifold For some time, I decided to also remove the electrical system.
Remove IG coil and injector
IG coil (Ignition coil) is 3 cylinders in 3 cylinders, 3 injectors are also connected by delivery pipes. Also, as each coupler is divided into three parts along the tappet cover, let’s remove them all. Be sure to remove the negative terminal of the battery terminal before handling electric system.
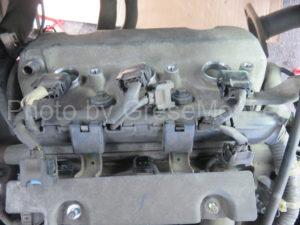
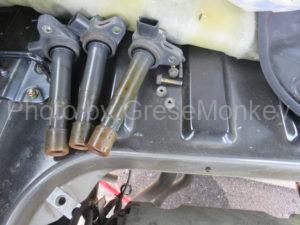
Remove the IG coils one at a time after removing the couplers. Also, the injectors are connected by delivery pipes, leaving the three connected as well. You can remove it by hand if you remove the two 10 mm nuts that stop the pipe. At this time there is a possibility that the O-ring attached to the tip of the injector may hurt, so let’s exchange it without reusing it.
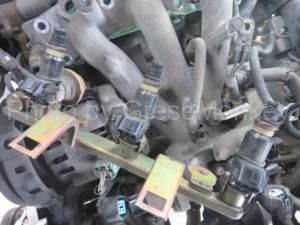
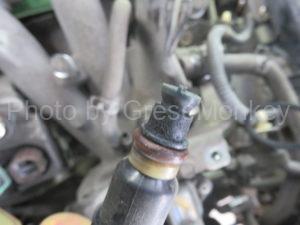
Brown part is O ring
Remove the accelerator wire and shift wire
Since the accelerator wire and the shift wire are connected to one wheel of the throttle body, remove the wire while rotating the wheel by hand. At this time, mark the position of the adjustment nut of the accelerator wire and record the number of threads and remember the length of the wire.
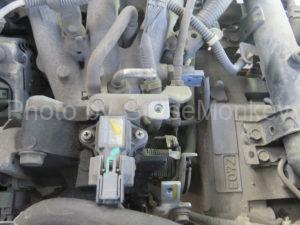
The wires of the throttle are fixed with a spring at the right side position from the sensor in the center of the picture.
Remove cooling water hose, electrical coupler coupler, blowby hose
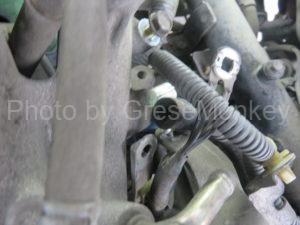
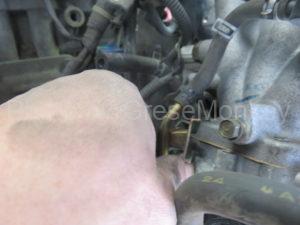
Cooling water hose passing through throttle body etc., coupler attached to sensor and engine accessories. We will do removal of small parts such as body earth. I have to memorize every single thing, but I think that it is better to keep taking pictures more quickly when there is no confidence. However, the engine of the car is designed so that there is no unnecessary one, there are only one type of couplers, respectively, so that the hoses will only fit in with nature, from the length, the degree of bending, the diameter, etc. Because it is done, it may seem complicated, but I think whether it does not have to be so nervous. If you step out one by one in order, you can disassemble it cleanly. Let’s concentrate and work without being impatient.
Remove the inlet manifold and throttle body together
In this time the inlet manifold and throttle body were detached together. It is better to remove the bolts and nuts of the cylinder head and inlet manifold, then remove the duct from the throttle body and air cleaner box. Please pay attention to the sensor hose attached to the back side of the intake manifold at this time
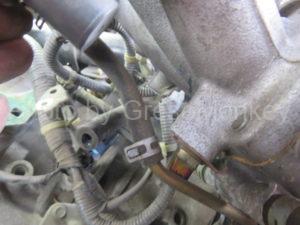
Hose attached to the sensor on the back of the inlet manifold
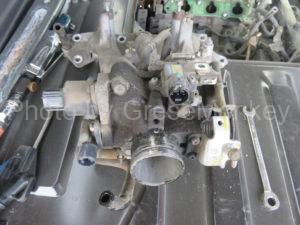
It’s pretty dark by blow-by gas blowback
This time it seems that blowby gas blowback was quite severe as the fuel was considerably dark because the head gasket was overheated due to omission. The evidence showed that there was quite a smell of raw gas at the start of the engine. The inside of the throttle chamber and the inside of the inlet manifold were also black.
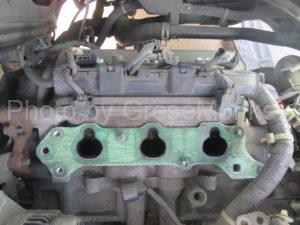
The gasket is green, but it was a difficult task to remove it. The degree of fixation was quite strong, and it was not peeled off while cutting with a cutter knife and a scraper while spraying a release agent.
Remove the tappet cover
When removing the inlet manifolds, let’s remove the tappet cover at the top of the cylinder head. Because it is stopped with four seal washers of 10 mm bolts, it is only to loosen. If you do not remove this, the timing belt cover will not come off so you can not proceed, so be careful.
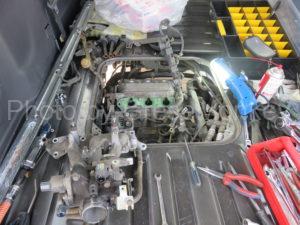
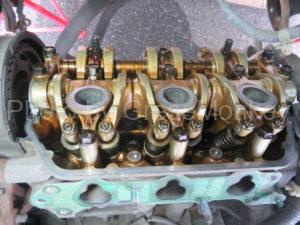
Always replace the packing of the tappet cover, the seal washer and the seal of the plug part after removing the cover.
Thank you foe this detailed post!!! I have this problem with my car and will take it to a Honda dealer tomorrow, hopefully they can fix it soon.
Thank you very much. I am glad that it seems to have been helpful to you.
From site administrator